• The Greenest Wort Chilling Process I Found.

    Based my previous post about going green with the wort chilling process I have decided to go as green as I can by letting the wort chill overnight.  Robert stated in the comments of the post:

    I just put the boiling wort in the fermenter and let it sit till the next morning.

    On Reddit, skandalouslsu echoed the thought when stating:

    …let it chill over night on its own. That’s what I do. No water. No ice. No pumps. Great tasting beer.

    With that in mind, here is how I did the process when I brewed the other night.


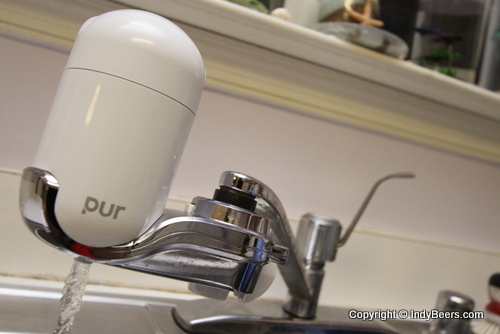
    After the brewing was done, I added 2 gallons of filtered tap water at the coldest temperature it would come out of the tap. (about 58 degrees)


    I put in the cold water first to prevent any issues with adding water that was too hot to the plastic bucket.


    For those of you that are curious, this is how I got that last shot. I used a Canon 7D with a wireless flash setup.


    I then added the wort, and some more water to get the desired original gravity, put a lid on it, and went to bed.


    The next day, I took the yeast out of the refrigerator before I want to work, and then came home at lunch to check on things. The temperature was about right at 68 degrees.


    I then pitched the yeast and resealed everything. There was no need to clean or sanitize because nothing new was being touched.


    So there it is, the greenest method I came across, and it worked just fine.  There was the issue of having to come back to the beer 18 hours later to pitch the yeast, but overall, not bad enough to keep from using this method moving forward.  I can tell you that I didn’t miss holding the drill and cleaning the wort chiller!!!

  • Going Green with Your Wort Chilling Process

    A lot of home brewers will run their garden hose into the wort chiller and let the excess water runoff into their yard. This is a colossal waste of water. To help avoid wasting so much water, my brother (Mathew) and I use ice to speed the process of chilling the wort. This has the benefit of streamlining the process and not wasting so much water.

    For me, I use a propane burner that has a tendency to make a mess of soot on the bottom of my pot. To keep this mess out of my house I circulate the water from my wort chiller through a cooler filled with water and ice.

    Mathew, using the stove in his kitchen to brew beer, doesn’t have the soot problems. He just soaks his brew pot in an ice bath in his sink to chill his wort.


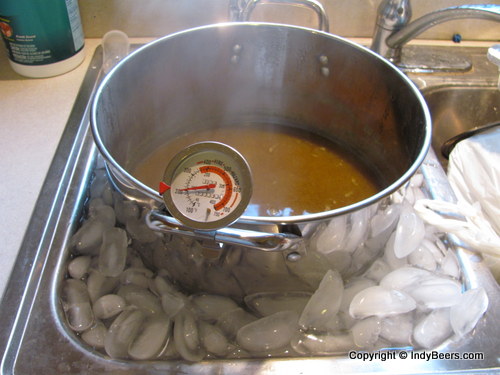
    I have two refrigerators, one that makes ice, and one that doesn’t. This is the ice I use for my wort chiller.


    This freezer isn’t hooked up to water, so I bring ice from the other freezer to this one for storage.


    On brew day, I put all the ice from the second refrigerator into a cooler and then add water.


    The pump for using with the wort chiller when brewing beer to recirculate the water.


    It works really well and can be purchased from your local hardware store.


    The time is 3:51:29 pm when I was ready to start.


    Doing this by yourself is kind of a pain, but it only takes 10-15 minutes. I should get clamps to hold the hoses in place and zip-tie the drill into an on position.


    Kelli came out and took a picture of me doing the process.


    The time is now 4:06:08 pm, a delta of about 15 minutes.


    This is how much ice was left after the process. I started with about 12-16lbs of ice.


    I use a cooler method of recirculating the water because the soot makes an awful mess if I try and do an ice bath like Mathew.


    Mathew has his spare refrigerator hooked up to water, and this is how he collects all the ice needed. The freezer holds about 25lbs of ice. (a full freezer has been shown to use less energy)


    His sink is 7 inches deep.


    And about 16 inches wide.


    He puts his pot in the sink first.


    Then he adds about 12-15lbs of ice and some water to make the ice float. To speed up the process he stirs both the wort and the ice every minute or so to keep the heat exchange happening at a fastest rate. The time is 5:47:05 pm.


    In his process this is how much ice he was left with after doing the ice bath.


    The time is now 6:00:47 pm, a delta of about 15 minutes. He goes to 85deg because when he adds the additional 2.5gal his tap is 60-65 deg; Therefore, he ends at between 70-75 deg to pitch the yeast. His method is much easier as you don’t have to hold a drill the whole time.