
Previously I posted a link about chilling my wort using ice in the article Going Green with Your Wort Chilling Process. Based on some feedback I received I wrote the follow-up article The Greenest Wort Chilling Process I Found. That second process works fine, but I prefer to pitch my yeast right away instead of having to wait several hours.
As reddit user rotomd quoted from Palmer’s book in the reddit comments of the second post:
At the end of the boil, it is important to cool the wort quickly. While it is still hot, (above 140°F) bacteria and wild yeasts are inhibited. But it is very susceptible to oxidation damage as it cools. There are also the previously mentioned sulfur compounds that evolve from the wort while it is hot. If the wort is cooled slowly, dimethyl sulfide will continue to be produced in the wort without being boiled off; causing off-flavors in the finished beer. The objective is to rapidly cool the wort to below 80°F before oxidation or contamination can occur.
Going back to the comments from reddit regarding the first post there was another option for chilling wort that I still wanted to explore. It was stated that the wort could be chilled by simply running the water from the garden hose through the wort chiller. I thought this would be a waste of a lot of water, but some others stated it wouldn’t.
reddit user javabrewer stated it could be done using only 15 gallons:
More like 15, in my case. And I save the water in a bucket and my 10 gallon cooler to wash things out. 5 gallons (the hottest runnings) goes into a bucket with PBW for washing gear, 10 gallons goes towards rinsing out the MLT.
I open the faucet very little and run it for maybe 20 minutes. Any longer than that and it’s diminishing returns. Any faster than that and water streams out of the connectors. Also, I stir the wort frequently. This is probably the best way to make the process “green”.
reddit user zymologist had a similar statement:
I just run my wort chiller from the faucet in my basement, straight into the washer. I can cool a 5 gallon batch down to 70F with almost exactly the amount of water it takes to do 1 large load of laundry. If I don’t have any laundry to do or just have half a load, I use the remaining lukewarm water to wash my equipment.
I didn’t blast the water, I ran it pretty slowly to avoid overflowing the washer. I also stirred vigorously every few minutes.
My object is to have the water flow just hard enough to fill the tubing/chiller completely so you get maximum surface area for cooling, while running it as slowly as possible so it has the maximum amount of contact time with the wort. It does slow down my process, but it’s worth it to me to not waste the water. I also stir vigorously and often, and “precool” my wort chiller by immersing it in a cold tap water bath, which I later use to clean my chiller/other equipment.
reddit user sailorh echoed the statement that low flow water and stirring are the key points:
Most people seem to run their faucet at a low pressure. In my case, my copper tubing is pretty narrow but 50′ long. That gives a fair amount of surface area to chill and only a bit of water needs to flow to carry out the heat. Stirring and moving the chiller around also makes a big difference. You can feel the outgoing water get a lot warmer as soon as you start moving the chiller around. I usually chill 5 gallons in about 10 minutes, maybe less.
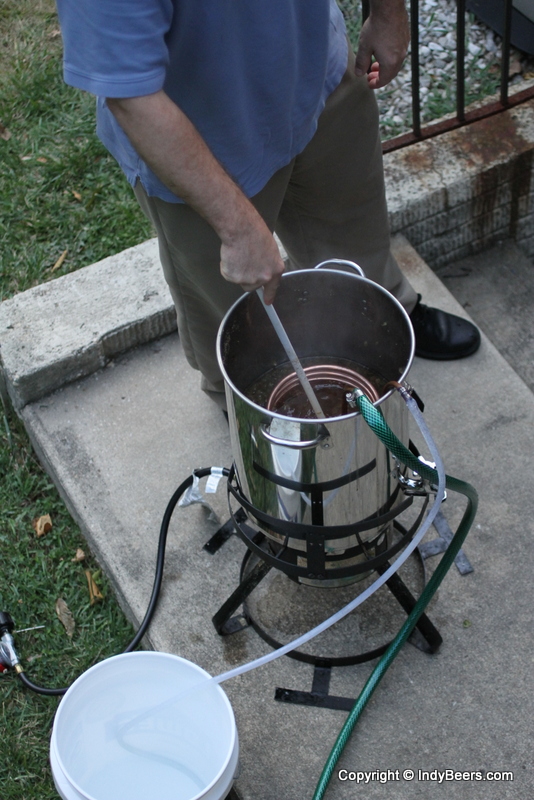
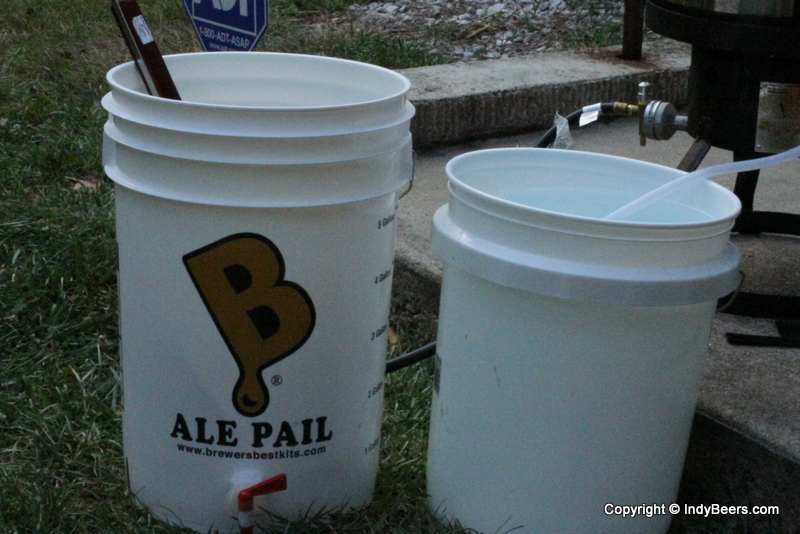
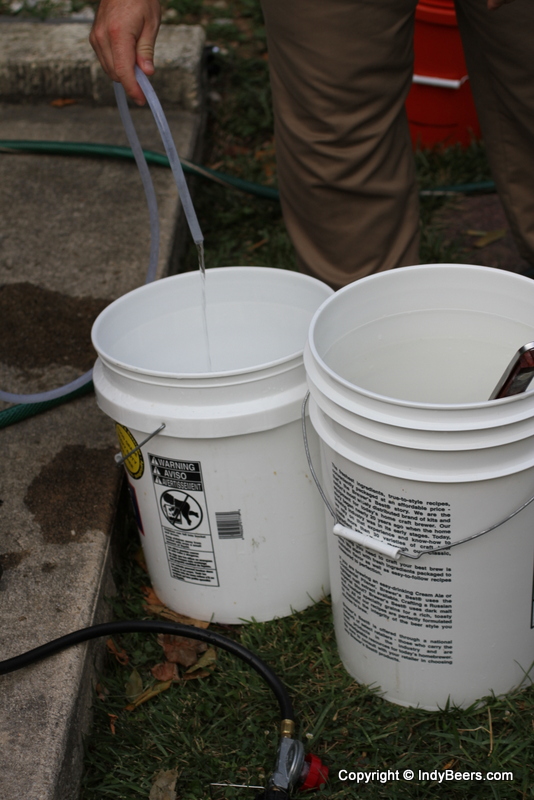
It was time to test the low flow water theory and see how well it worked. Last week when I brewed beer my brother and I used the low flow water method and we were able to cool 2.5 gallons of wort in 35 minutes using 10 gallons of water. Here are the pictures for the test.
-
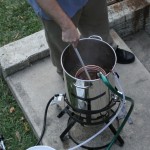
- Starting the process of chilling the wort at 7:29pm.
-
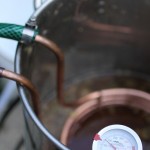
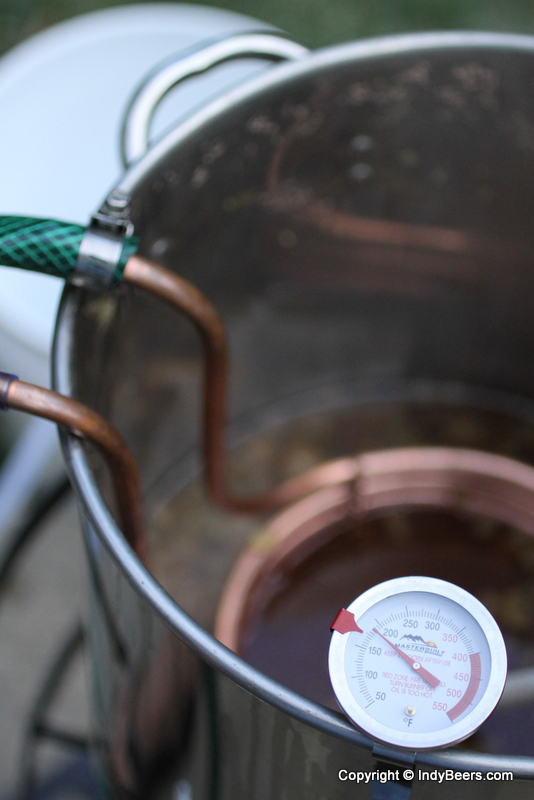
- The temperature was falling at a steady pace.
-
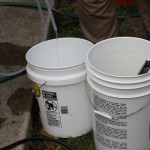
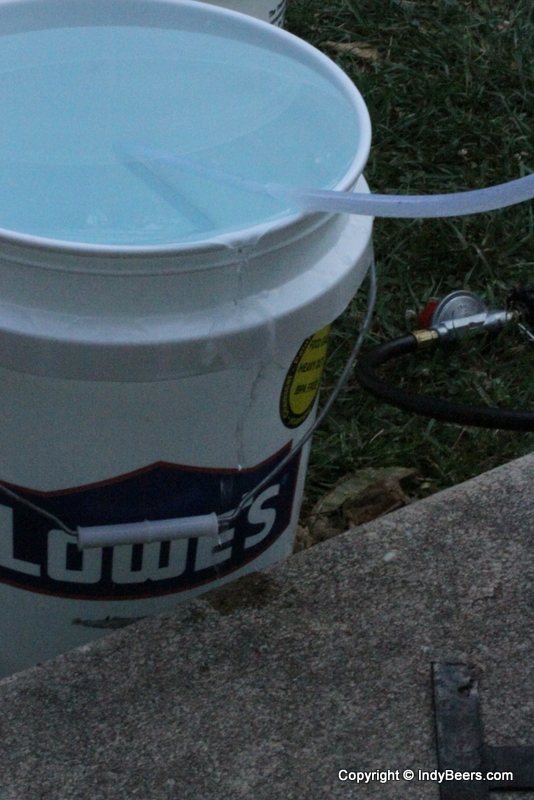
- We were letting the excess water go into the 5 gallon bucket on the right to measure it and for later use.
-
- Once the bucket was filled, we stopped the flow of water while we emptied the bucket.
-

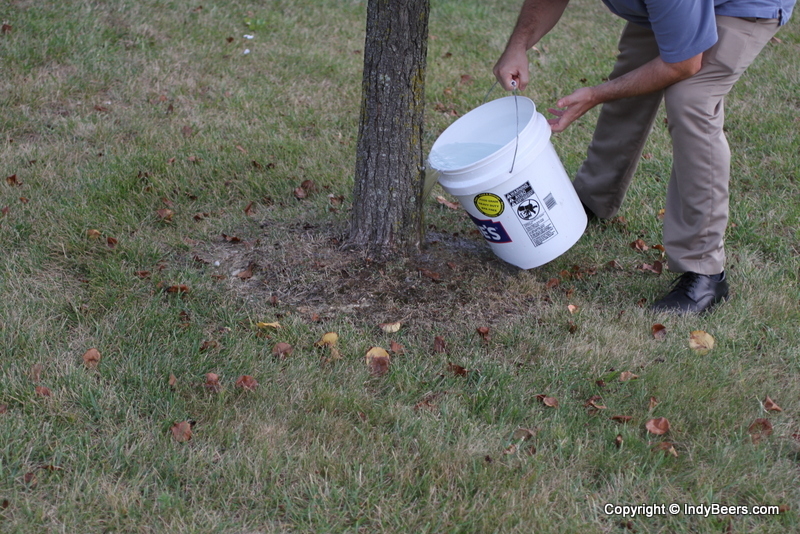
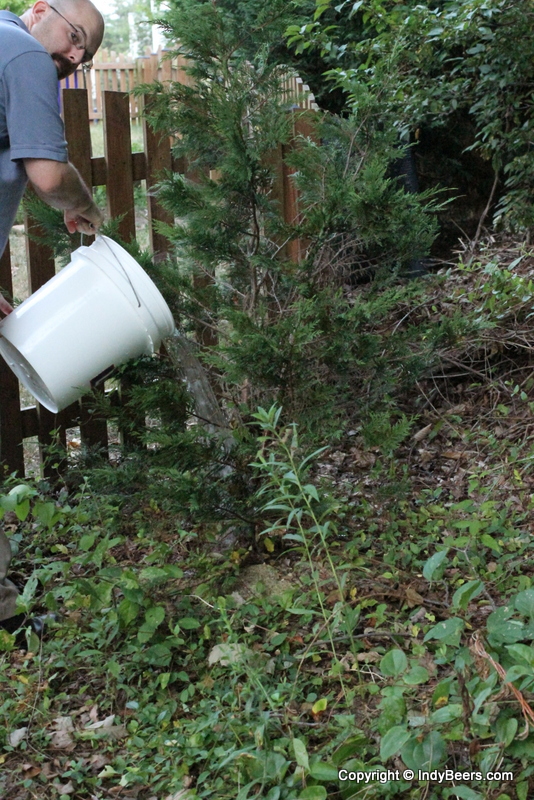
- There are a few trees and plants in my yard that don’t get much water, so we used the water on them.
-
- Even in times of a drought with water restrictions, hand watering plants with a watering can is permitted.
-
- With the watering done (which only took about 60 seconds), we restarted the flow of water and began filling the bucket again.
-
- At 8:04pm (35 minutes later) the second bucket was filled for a total of 10 gallons used.
-
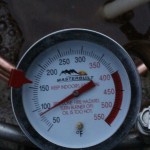
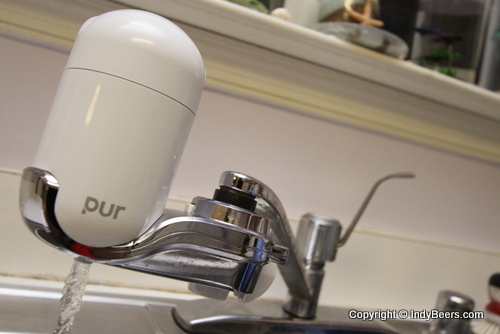
- The temperature was now at a satisfactory level as we still had to add 2.5 gallons of filtered tap water.

-
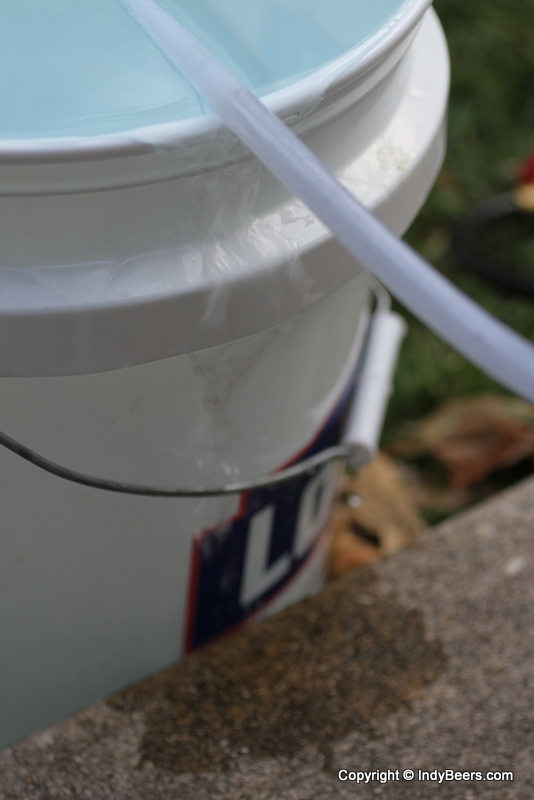
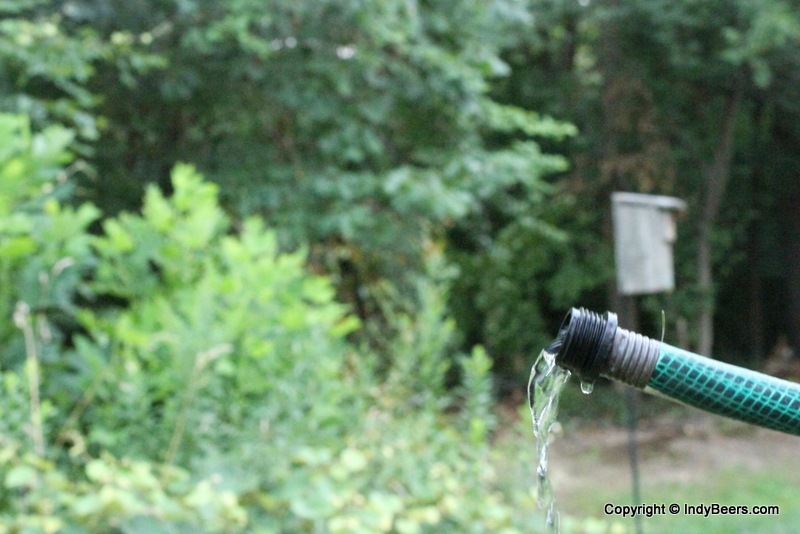
- This was the flow of the water. You can see it was just a trickle.
-
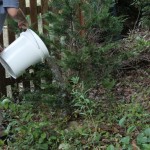
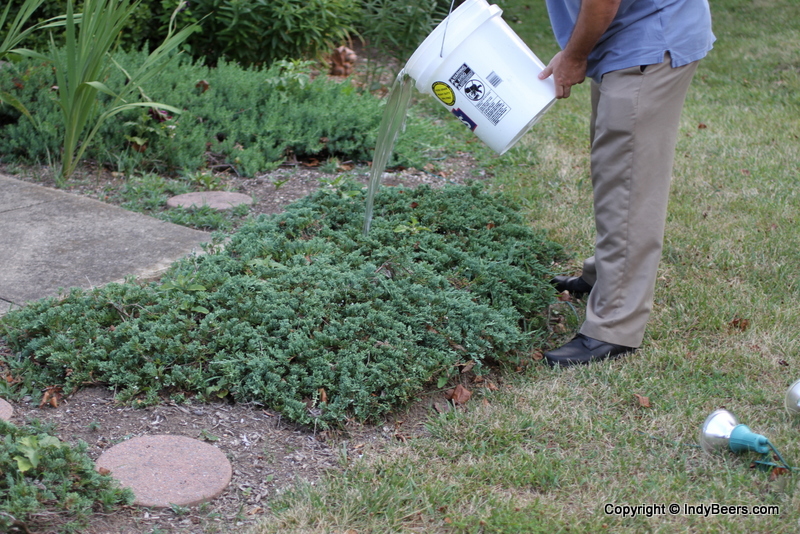
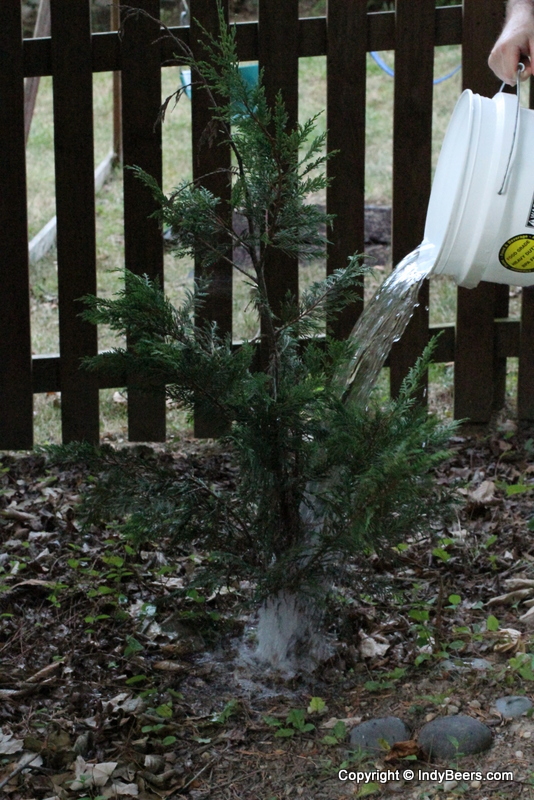
- I then used the second batch of 5 gallons to water some more plants.
-
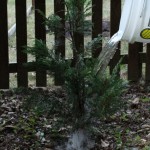
- These leyland cypress have really been struggling in the heat, so the water was really good for them.
-

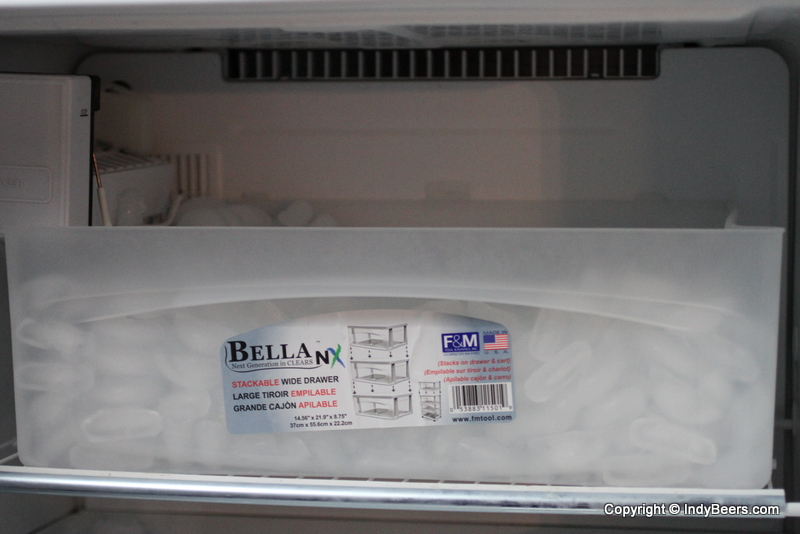
- This was the ice I used to use when I circulated the water through an ice bath. The dimensions on the sticker equate to 2,790 cubic inches which is about 12 gallons. Keep in mind I floated the ice in water. So the low flow method seems to use less water.
")


Follow Us!