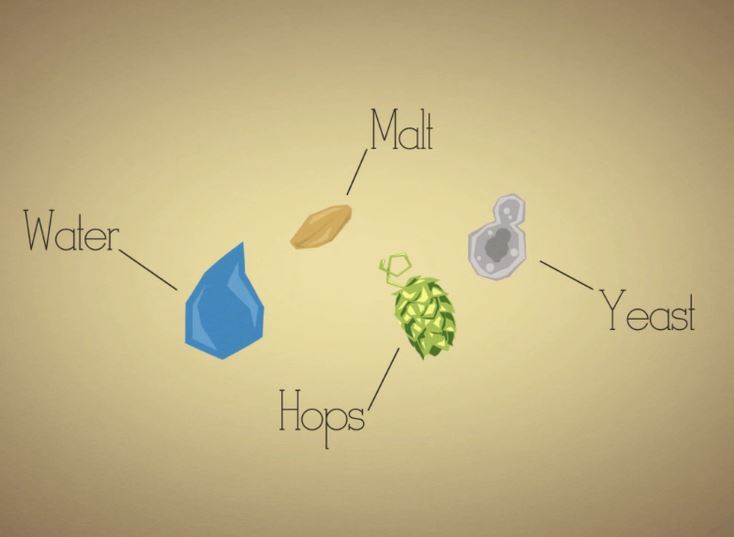
This is an animated short on how to make beer.
Giving you the knowledge to buy better beer.

If you want to drink the same brew the President drinks, you now can. The White House has finally released the recipe to the public.
With public excitement about White House beer fermenting such a buzz, we decided we better hop right to it.
Inspired by home brewers from across the country, last year President Obama bought a home brewing kit for the kitchen. After the few first drafts we landed on some great recipes that came from a local brew shop. We received some tips from a couple of home brewers who work in the White House who helped us amend it and make it our own. To be honest, we were surprised that the beer turned out so well since none of us had brewed beer before.
As far as we know the White House Honey Brown Ale is the first alcohol brewed or distilled on the White House grounds. George Washington brewed beer and distilled whiskey at Mount Vernon and Thomas Jefferson made wine but there’s no evidence that any beer has been brewed in the White House. (Although we do know there was some drinking during prohibition…)
Since our first batch of White House Honey Brown Ale, we’ve added the Honey Porter and have gone even further to add a Honey Blonde this past summer. Like many home brewers who add secret ingredients to make their beer unique, all of our brews have honey that we tapped from the first ever bee-hive on the South Lawn. The honey gives the beer a rich aroma and a nice finish but it doesn’t sweeten it.
If you want a behind the scenes look at our home-brewing process, this video offers some proof.
Download a printable PDF of both recipes.
Ingredients
Directions
Ingredients
Directions
Source: http://www.whitehouse.gov/

Last week we reported that President Obama had gone public with the fact that beer was being brewed in the White House. Now there is a petition on https://petitions.whitehouse.gov/ to have the recipe released.
Following in the footsteps of great men like George Washington, Thomas Jefferson, and Benjamin Franklin, Barack Obama has reportedly been enjoying the rewards of home brewed beer. Recent reports from news outlets like the Washington Post (August 15th, 2012) have stated that Obama has been drinking a White House home brew Honey Ale while on the campaign trail.
In keeping with the brewing traditions of the founding fathers, homebrewers across America call on the Obama Administration to release the recipe for the White House home brew so that it may be enjoyed by all.
“I think it’s time for beer” -Franklin D. Roosevelt (March 12, 1933)
So if you’re a home brewer and want to try brewing the White House Honey Ale, make sure to check the link below and sign the petition.

Previously I posted a link about chilling my wort using ice in the article Going Green with Your Wort Chilling Process. Based on some feedback I received I wrote the follow-up article The Greenest Wort Chilling Process I Found. That second process works fine, but I prefer to pitch my yeast right away instead of having to wait several hours.
As reddit user rotomd quoted from Palmer’s book in the reddit comments of the second post:
At the end of the boil, it is important to cool the wort quickly. While it is still hot, (above 140°F) bacteria and wild yeasts are inhibited. But it is very susceptible to oxidation damage as it cools. There are also the previously mentioned sulfur compounds that evolve from the wort while it is hot. If the wort is cooled slowly, dimethyl sulfide will continue to be produced in the wort without being boiled off; causing off-flavors in the finished beer. The objective is to rapidly cool the wort to below 80°F before oxidation or contamination can occur.
Going back to the comments from reddit regarding the first post there was another option for chilling wort that I still wanted to explore. It was stated that the wort could be chilled by simply running the water from the garden hose through the wort chiller. I thought this would be a waste of a lot of water, but some others stated it wouldn’t.
reddit user javabrewer stated it could be done using only 15 gallons:
More like 15, in my case. And I save the water in a bucket and my 10 gallon cooler to wash things out. 5 gallons (the hottest runnings) goes into a bucket with PBW for washing gear, 10 gallons goes towards rinsing out the MLT.
I open the faucet very little and run it for maybe 20 minutes. Any longer than that and it’s diminishing returns. Any faster than that and water streams out of the connectors. Also, I stir the wort frequently. This is probably the best way to make the process “green”.
reddit user zymologist had a similar statement:
I just run my wort chiller from the faucet in my basement, straight into the washer. I can cool a 5 gallon batch down to 70F with almost exactly the amount of water it takes to do 1 large load of laundry. If I don’t have any laundry to do or just have half a load, I use the remaining lukewarm water to wash my equipment.
I didn’t blast the water, I ran it pretty slowly to avoid overflowing the washer. I also stirred vigorously every few minutes.
My object is to have the water flow just hard enough to fill the tubing/chiller completely so you get maximum surface area for cooling, while running it as slowly as possible so it has the maximum amount of contact time with the wort. It does slow down my process, but it’s worth it to me to not waste the water. I also stir vigorously and often, and “precool” my wort chiller by immersing it in a cold tap water bath, which I later use to clean my chiller/other equipment.
reddit user sailorh echoed the statement that low flow water and stirring are the key points:
Most people seem to run their faucet at a low pressure. In my case, my copper tubing is pretty narrow but 50′ long. That gives a fair amount of surface area to chill and only a bit of water needs to flow to carry out the heat. Stirring and moving the chiller around also makes a big difference. You can feel the outgoing water get a lot warmer as soon as you start moving the chiller around. I usually chill 5 gallons in about 10 minutes, maybe less.
It was time to test the low flow water theory and see how well it worked. Last week when I brewed beer my brother and I used the low flow water method and we were able to cool 2.5 gallons of wort in 35 minutes using 10 gallons of water. Here are the pictures for the test.

I was thinking about what I was going to brew this week when it dawned on me, I can’t brew beer this week. Not because I don’t have time. Not because I couldn’t go to the store and buy supplies. I can’t brew beer this week because I have no where to put it.
You see, I have gone a little nutty with the beer brewing. I decided to see what would happen if I brewed 5 gallons beer every.single.week. 5 gallons of beer is about 2 cases and a 6 pack of beer, but you drop some volume during brewing, so we’ll just say 2 cases. That’s a lot of beer. I can do a keg a week (with a little from my friends), but it’s not the norm.
Currently I have 2 kegs of beer in the fridge, and 4 buckets (5 gallon each) fermenting. I have no more kegs, I have no more buckets, I have no room for more beer. 6 weeks straight of brewing have finally brought me to a place of rest.


Time to start the weekend with some good beerporn.

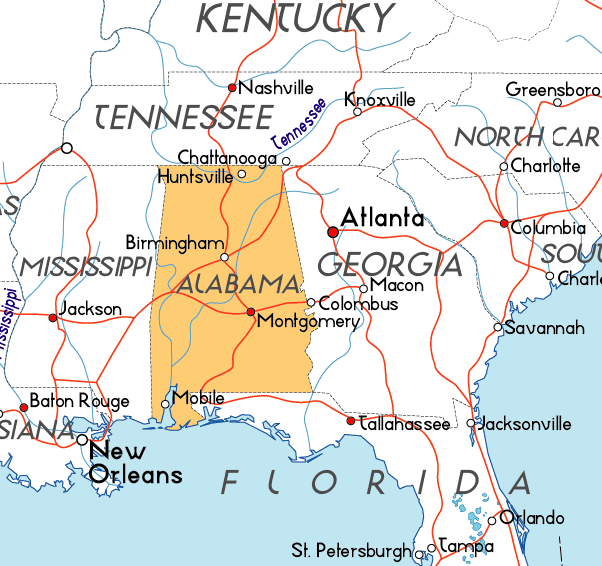
You can buy a shirt at the department store, but you can’t make your own shirt. You can buy a hamburger at the local fast food restaurant, but you can’t make your own hamburger. You can buy beer at the local store, but you can’t make your own. For those living in Alabama, one of those three statements is true.
I’m really having trouble understanding the logic of why something that is available for sale would not be permissible to make in the comfort of your own home. Under the new law homebrewing is punishable as a misdemeanor with significant fines and even jail time.
Daniel J. Smith, an assistant professor of economics at the Manual H. Johnson Center for Political Economy at Troy University, makes some great points:
If Alabama believes that “the sole object and only legitimate end of government is to protect the citizen in the enjoyment of life, liberty, and property,” as stated in Article 1, Section 35 of the Alabama Constitution, homebrewing ought to be legal.
In fact, since President Jimmy Carter legalized homebrewing at the national level in 1978, there has been a craft beer revolution with microbreweries and brewpubs popping up around the nation. This renaissance has not reached Alabama due to archaic remnants of the Prohibition era, including the ban on homebrewing.
Those that have opposed the homebrewing process are under the impression that the ability to make beer and wine for a cheaper price in the home will increase the amount of drunks. As someone who has been brewing beer for the short period of 6 months, I can tell you, it’s not the place to go to get your quick fix of alcohol. I’m currently brewing once a week (5 gallons or about 2.2 cases of beer), but leaving the beer to ferment for 4 weeks. Not the ideal situation for someone looking to get drunk on a daily basis. Even then, my beers are cheaper in cost than good craft beer, but the crappy watered down beer like Bud Light, Miller Lite, and Coors Light are still cheaper than what I produce.
The deeper issue at stake is the tendency of politicians — whether at the local, state or national level — to manage every aspect of their constituents’ economic and personal lives. This trend threatens the development of personal responsibility and undermines the foundations of a free society. French political observer Alexis de Tocqueville long ago warned this type of bureaucratic power turns people into “nothing better than a flock of timid and industrious animals, of which the government is the shepherd.”
Sweet home Alabama? Not for me, but then, a southern man don’t need me around anyhow.
Source: http://blog.al.com/

If you’ve been following us lately, you know that I’ve been brewing my own beer theses days. While generally cheaper than buying good craft beer, there are still lots of costs associated with brewing that are outside of the just the ingredients. It because of this that anytime I can find a good deal on brewing supplies, I’m going to take it and save some cash.
I was forwarded an email by a very loyal Indy Beers follower (my mother) that was a deal of the day from groupon. If you were looking to start brewing your own beer, now might be the time to do so. So here is the deal from “Midwest Supplies Home Beer and Wine Making”:
$64 for Beer-Brewing Starter Kit and Ingredients (Up to $137.92 Value)
In a Nutshell
Home-brewing kit quick starts batches of ales, lagers & stouts with premium hops, yeasts & grains, as well as easy recipes
So there you have it. Check the link below if you interested, and get started brewing your own beer today!!!!
http://www.groupon.com/deals/dc-fd1-midwest-homebrewing-amarillo

Based my previous post about going green with the wort chilling process I have decided to go as green as I can by letting the wort chill overnight. Robert stated in the comments of the post:
I just put the boiling wort in the fermenter and let it sit till the next morning.
On Reddit, skandalouslsu echoed the thought when stating:
…let it chill over night on its own. That’s what I do. No water. No ice. No pumps. Great tasting beer.
With that in mind, here is how I did the process when I brewed the other night.

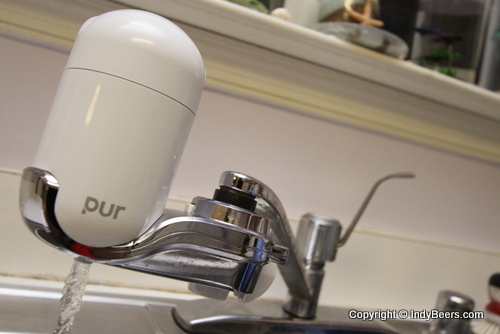
After the brewing was done, I added 2 gallons of filtered tap water at the coldest temperature it would come out of the tap. (about 58 degrees)

I put in the cold water first to prevent any issues with adding water that was too hot to the plastic bucket.

For those of you that are curious, this is how I got that last shot. I used a Canon 7D with a wireless flash setup.

I then added the wort, and some more water to get the desired original gravity, put a lid on it, and went to bed.

The next day, I took the yeast out of the refrigerator before I want to work, and then came home at lunch to check on things. The temperature was about right at 68 degrees.

I then pitched the yeast and resealed everything. There was no need to clean or sanitize because nothing new was being touched.
So there it is, the greenest method I came across, and it worked just fine. There was the issue of having to come back to the beer 18 hours later to pitch the yeast, but overall, not bad enough to keep from using this method moving forward. I can tell you that I didn’t miss holding the drill and cleaning the wort chiller!!!
Follow Us!